Managing Workflow Triggers
Triggers determine when your workflows execute automatically. You can configure triggers during workflow creation or manage them later from within each workflow, ensuring they run at the right moment — whether at the start of a call, after it ends, or when a chat finishes.
Stack Actions
Run multiple workflows from one event, in the order you choose.
Smart Context
Every workflow knows what happened in the conversation.
Available Trigger Types
Choose the right trigger based on what information your workflow needs to work with.
Pre-Call Trigger
Executes when a call is answered, before any conversation happens.
Has access to caller's name and phone number only. No conversation content available since the call just started.
Post-Call Trigger
Executes after a phone call ends.
Has access to the complete conversation transcript, customer information, and call outcome. Perfect for follow-ups and ticket creation.
Post-Widget Trigger
Executes after a chat conversation ends.
Has access to the full chat history and participant details. Ideal for sending transcripts or creating follow-up tasks.
Setting Up Workflow Triggers
There are two ways to configure triggers for your workflows:
During Workflow Creation
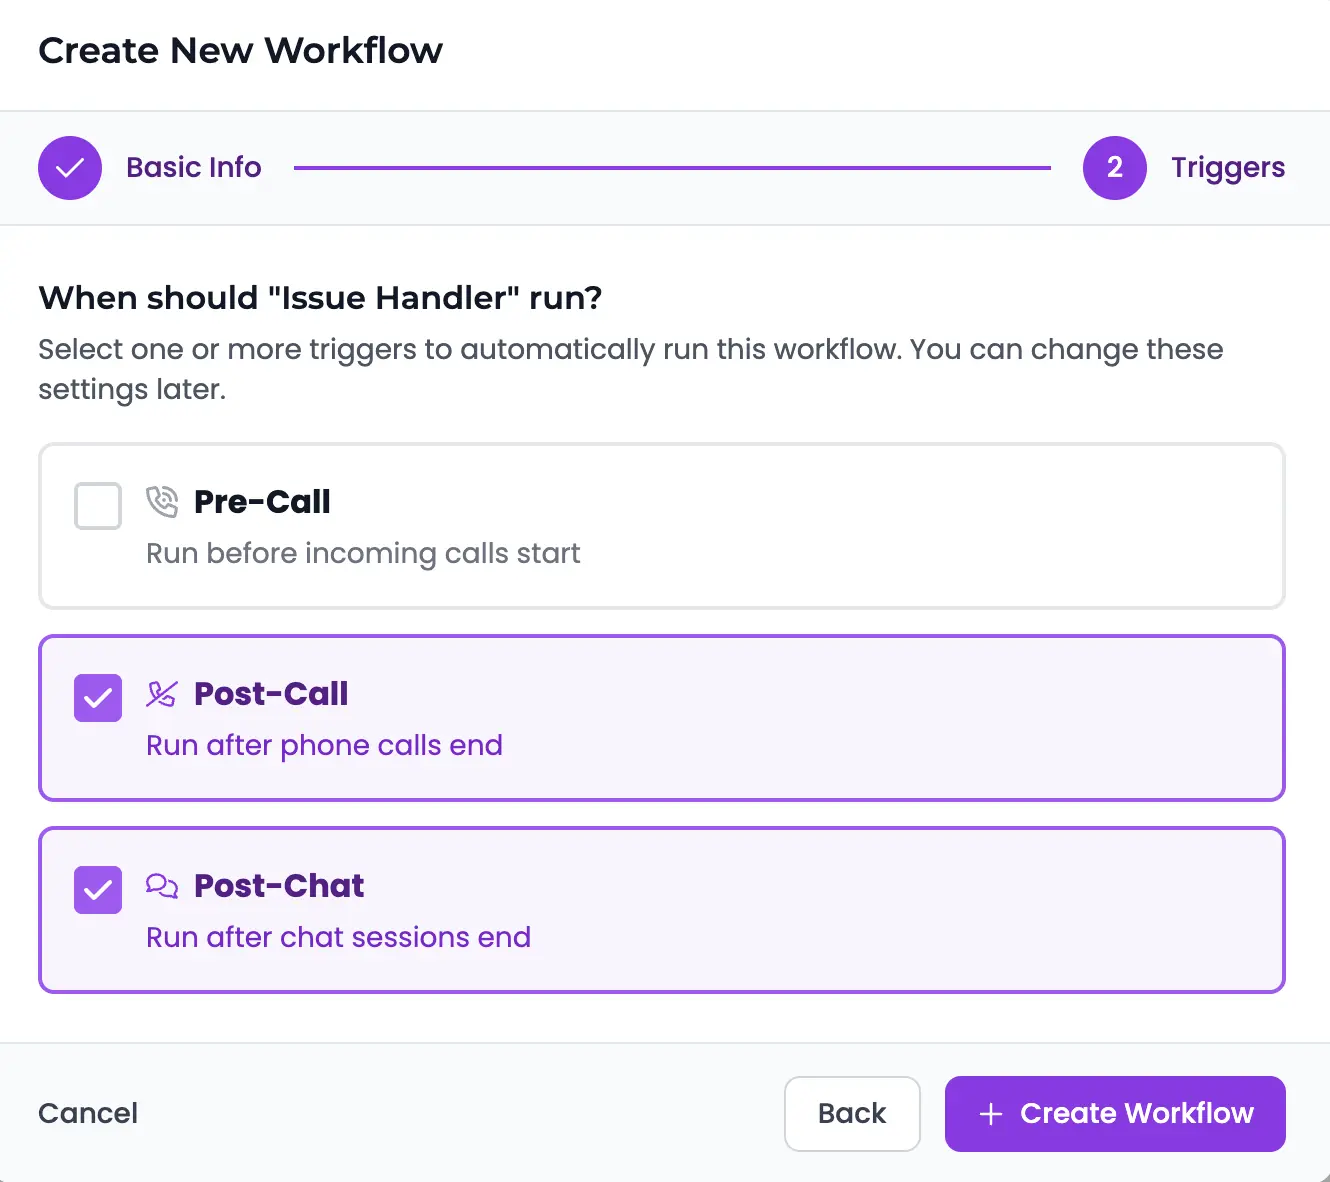
The easiest way is to select triggers when creating a new workflow:
- 1. Click "Create Workflow" from the workflows page
- 2. Enter your workflow name (Step 1)
- 3. Select one or more triggers (Step 2):
- — Pre-Call: Run before incoming calls start
- — Post-Call: Run after phone calls end
- — Post-Widget: Run after chat sessions end
- 4. Click "Create Workflow" to proceed
Tip
Selecting triggers during creation ensures your workflow is ready to run immediately after you build it.
From Within Each Workflow
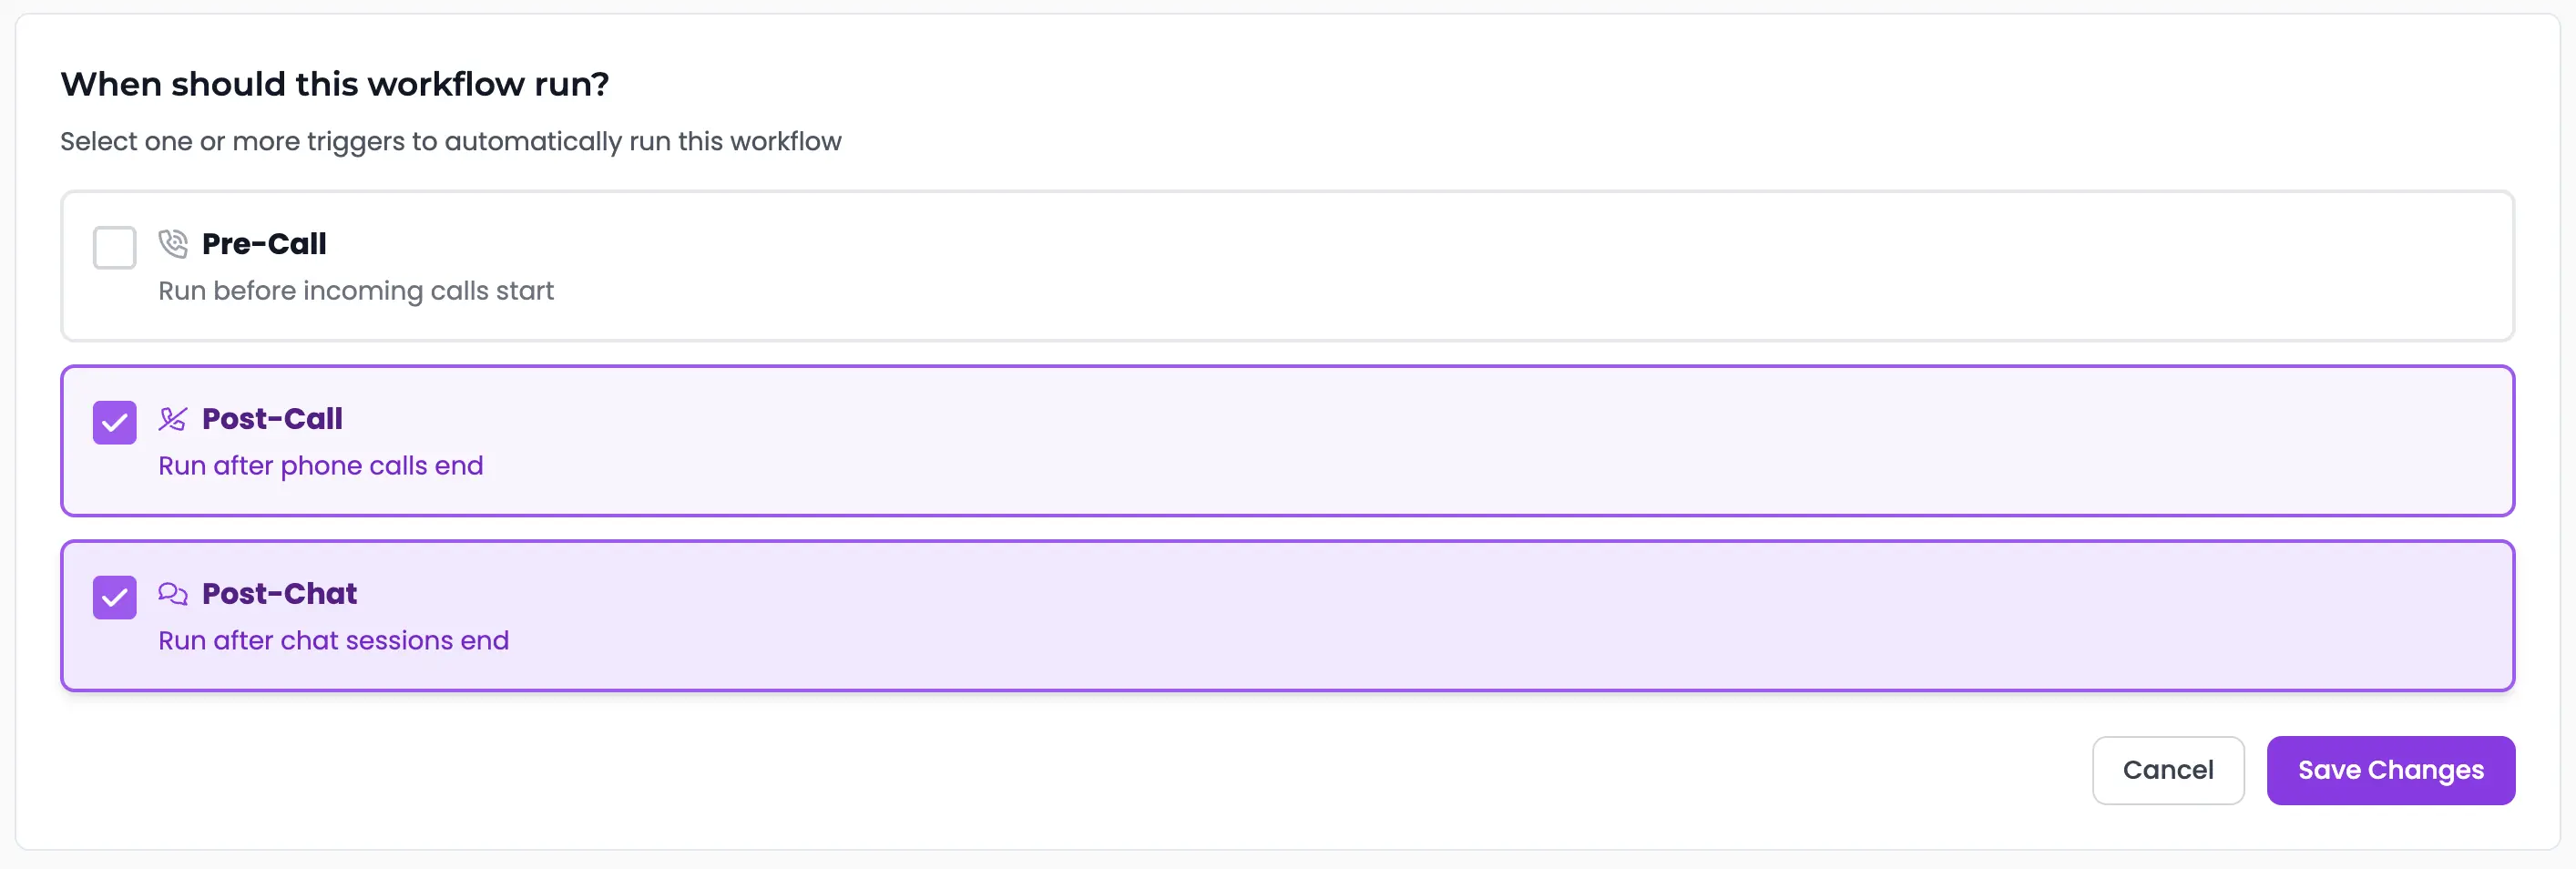
You can add, change, or remove triggers at any time:
- 1. Open any workflow from your workflows list
- 2. Look for the trigger management panel at the top of the page
- 3. Click the "Edit" button next to the triggers
- 4. Check or uncheck the triggers you want
- 5. Click "Save Changes" to apply

Important
Workflows Without Triggers
If a workflow has no triggers assigned, it won't run automatically. The system will display a warning: "No triggers assigned — workflow won't run". Always ensure your workflows have at least one trigger configured.
Managing Multiple Workflows per Trigger
You can assign multiple workflows to the same trigger. They will execute in the order they were added, allowing you to chain different automations for complex scenarios.
Post-Call Automation Stack
Issue Handler
Checks for problems and routes to support
Follow-up Scheduler
Books appointments if requested
CRM Updater
Logs call details to your CRM
All three workflows run sequentially after each call ends